


How To Apply Contact Adhesive
Heading
It’s ideal for large surfaces, detailed applications, and everyday repairs, provided it’s applied correctly. In this guide, we’ll show you exactly how to do that, step by step.
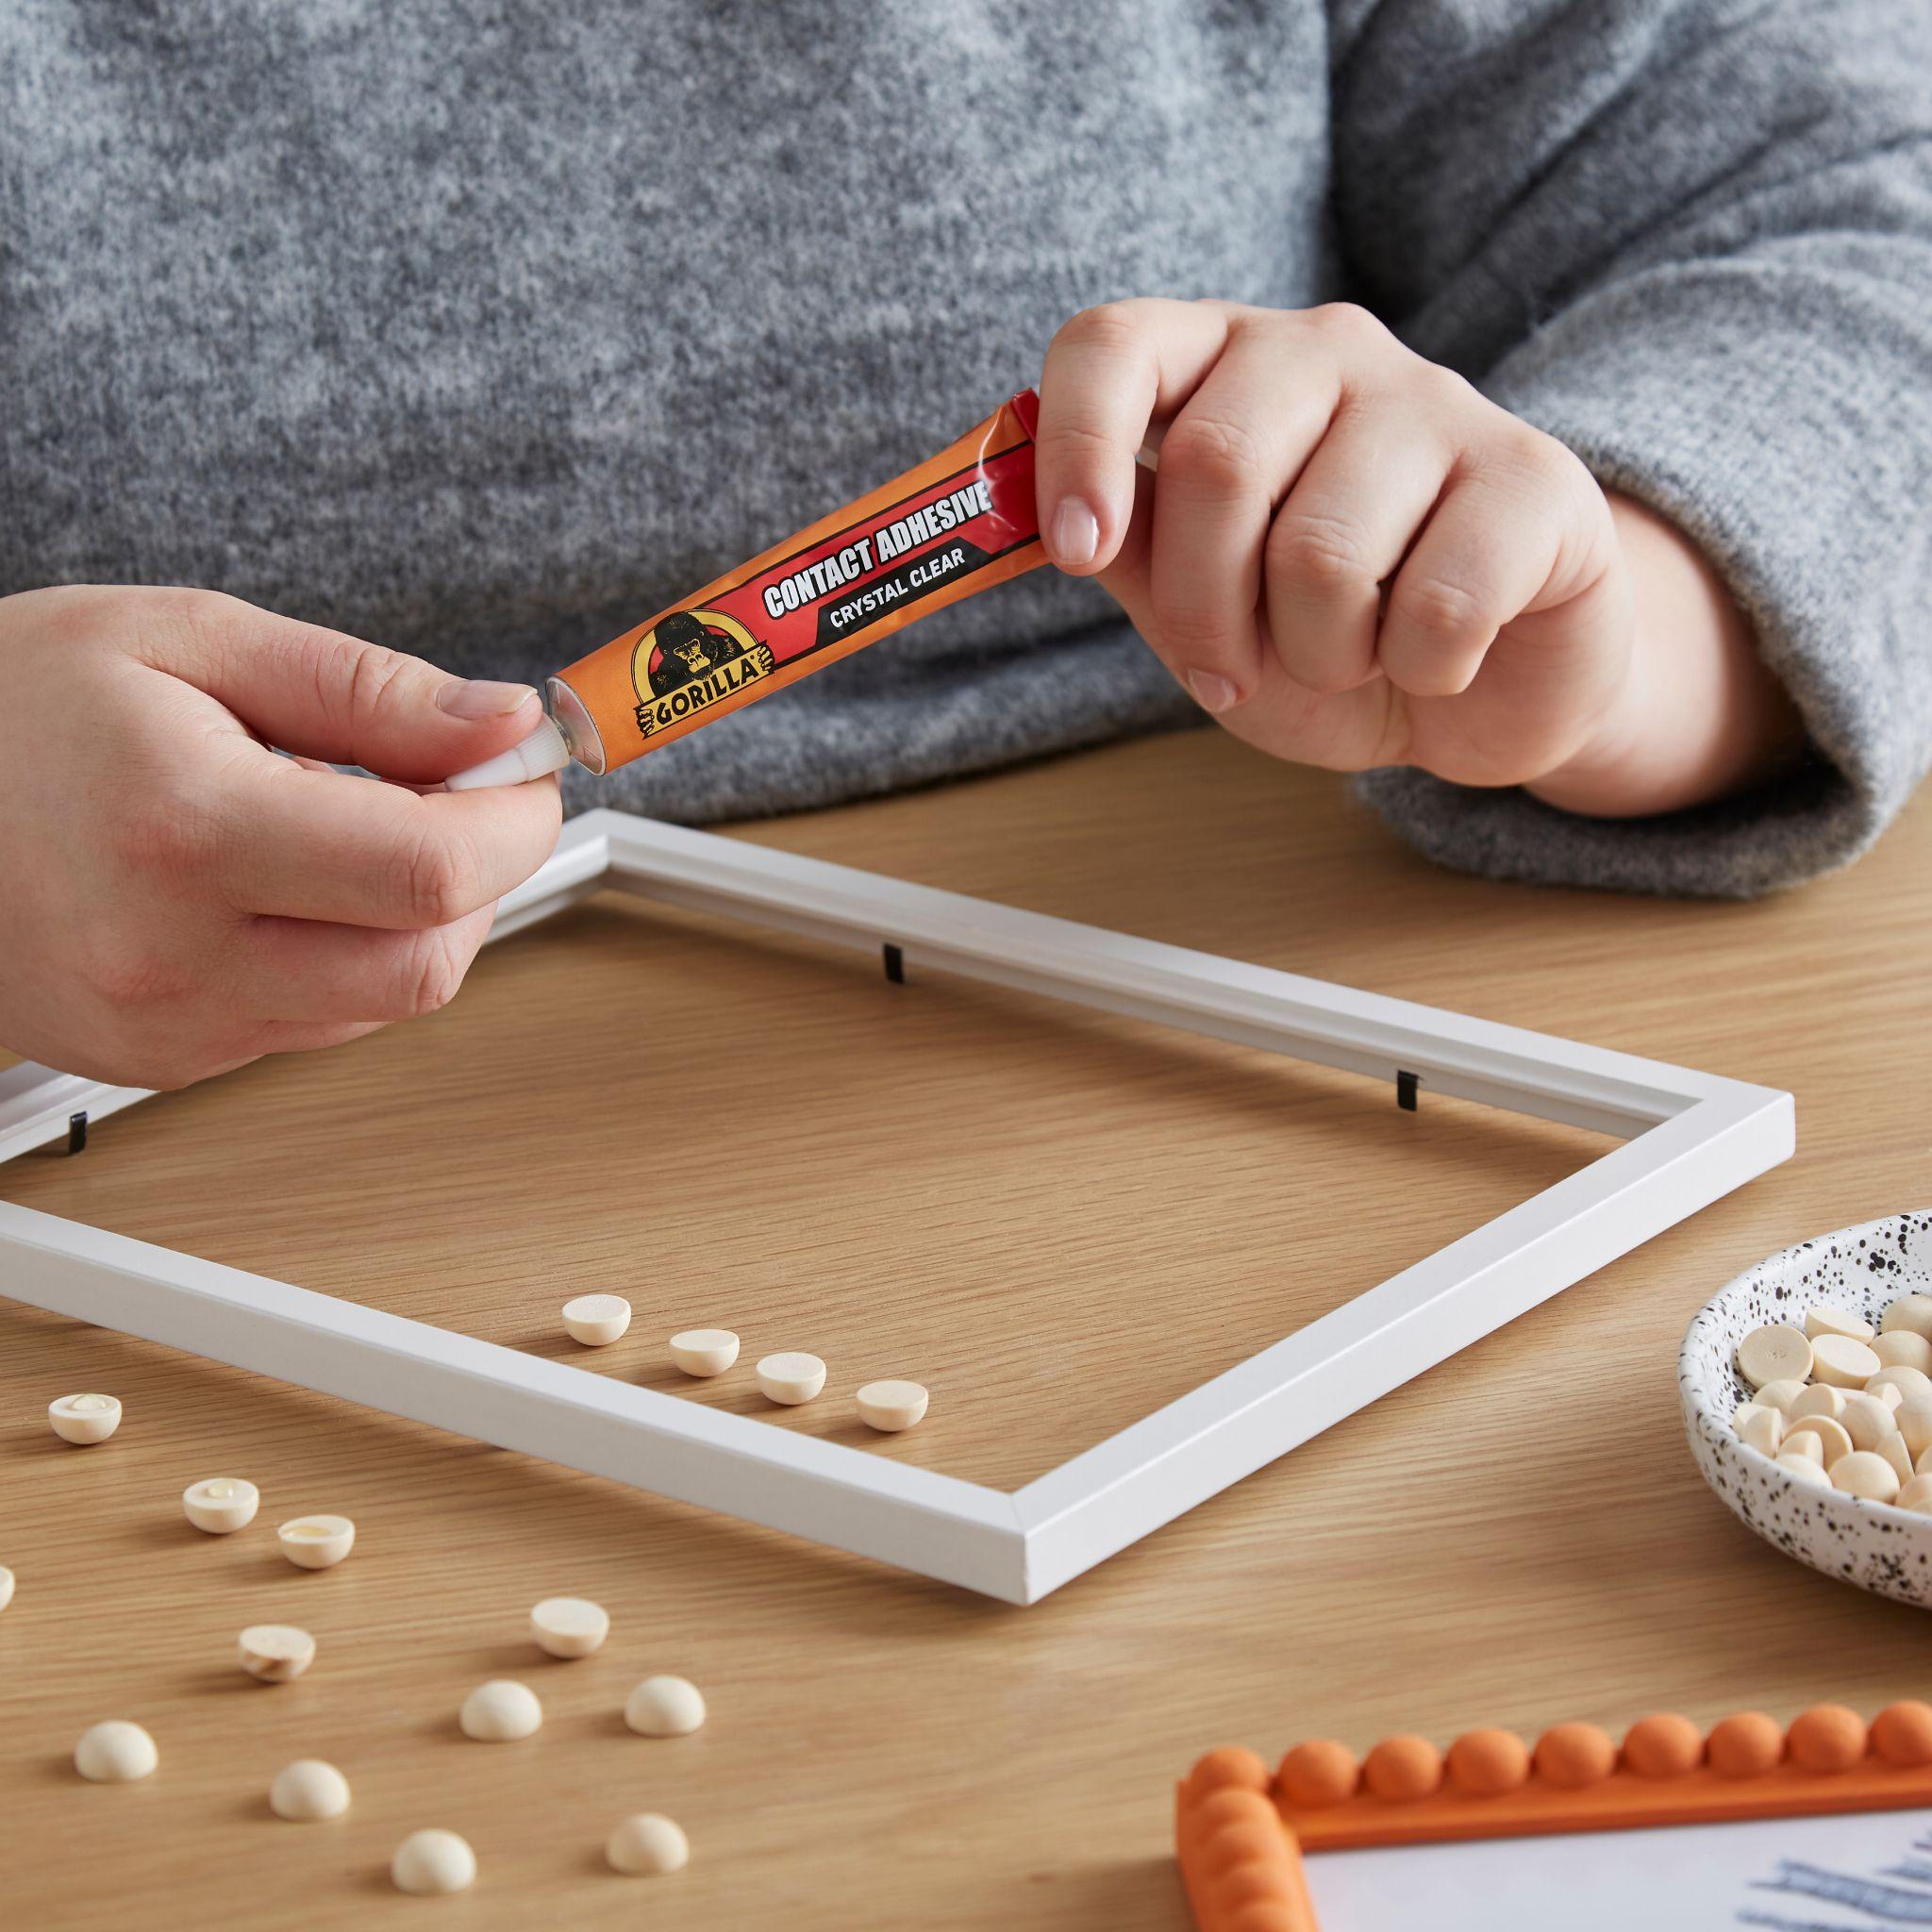
Contact adhesive (also called contact cement or contact glue) is a solvent-based, high-strength adhesive that bonds materials like wood, plastic, metal, leather, rubber, and even ceramics.
It’s ideal for large surfaces, detailed applications, and everyday repairs, provided it’s applied correctly. In this guide, we’ll show you exactly how to do that, step by step, so you get a long-lasting result every time.
Tools & Materials You’ll Need
Tools & Materials You’ll Need
Before you start, make sure you have:
- A clean cloth or degreaser to remove grease, dust, and residue.
- A brush, bead applicator, or spreader for applying the adhesive.
- Clamps or a hand roller to press surfaces together.

Step-by-Step Instructions
Follow these steps to get the best results with contact adhesive:
1. Clean and Prepare the Surfaces
Start by cleaning both surfaces thoroughly. Wipe away any dust, oil, old glue, or other contaminants using a degreaser and a clean cloth. Finish by drying everything thoroughly before you move on.
2. Apply the Contact Adhesive
Next, apply a thin, even coat of contact adhesive to both surfaces. If using Contact Adhesive Tin, use a brush, roller, or spreader to make sure you reach the edges and corners.
For Maximum Bond Strength: Wait approximately 2 minutes before joining surfaces.
For Repositionable Bonds: Wait approximately 1 minute before joining surfaces. Repositionable for 2-4 minutes depending on surface type.
Let the adhesive dry until tacky. This usually takes approximately 2 minutes, depending on your environment, but always check the product instructions for specific guidance.
Pro tip: Edges and corners tend to lift over time, so make sure you coat them thoroughly.

3. Join the Surfaces
Once the adhesive on both surfaces is tacky,bring them together and press firmly. Use a hand roller or clamps to apply even pressure across the entire surface, if needed. This will ensure a strong, lasting bond.

4. Let the Bond Cure
Although contact adhesive holds instantly, remember that it takes time to reach its full strength. Leave the bonded materials alone for at least 24 hours, or for the duration recommended by the manufacturer. Avoid flexing, stretching, or exposing the joint to moisture during this time.

Common Mistakes to Avoid
Avoid these common issues to get the strongest possible bond:
- Only glueing one side: You need adhesive on both surfaces.
- Joining too early: Wait until the adhesive becomes tacky before bonding the surfaces.
- Not pressing firmly: The bond needs solid, even pressure to work well.
- Skipping prep: Dust, grease, and moisture will weaken the bond.
- Disturbing the bond too soon: Let the adhesive cure fully before using or handling the item.
Using too much glue: Thick coats take longer to dry and often create uneven, lumpy bonds.
There You Have It!
If you’re fixing furniture, attaching rubber to metal, or working with ceramics, Gorilla Contact Adhesive provides a strong, versatile solution that works for both professionals and DIY enthusiasts.
Follow the right steps to get cleaner, stronger, and longer-lasting results every time.
Want more tips? Explore our updated guides on glueing metal, selecting the best glue for plastic, or choosing which adhesive works best for wood.

For the toughest jobs on planet Earth®