


How to Glue Wood: Step-By-Step
Heading
We’ve put together a step-by-step guide to glueing wood, along with a comparison of the various types of wood adhesives out there and tips for guaranteeing a strong, reliable bond.

Whether you’re repairing a broken chair, starting a new DIY project, or bonding wood to other materials like glass or metal, the right adhesive, when applied correctly, can make all the difference.
We’ve put together a step-by-step guide to glueing wood, along with a comparison of the various types of wood adhesives out there and tips for guaranteeing a strong, reliable bond.
How To Glue Wood: Step-by-Step Guide
Before we get started, this step-by-step guide is intended to bond wood to wood using PVA wood glue. While the exact process may work with other glues and materials, always follow the guidance in your product information booklet for the best results.
Step 1: Surface Preparation
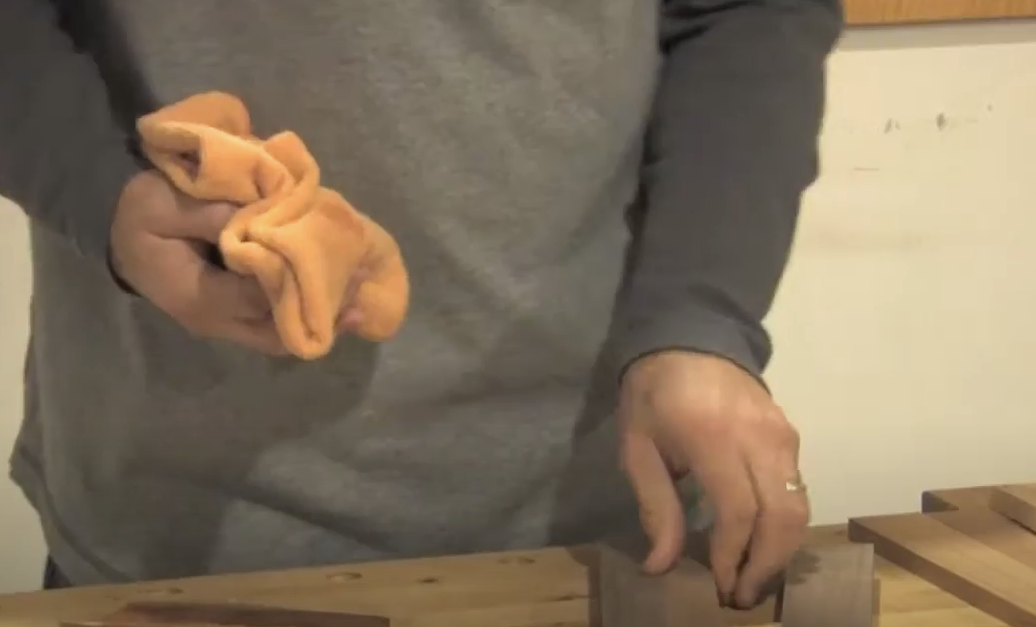
Make sure that both wooden surfaces are clear of dust, dirt, and old finishes that might interfere with adhesion.
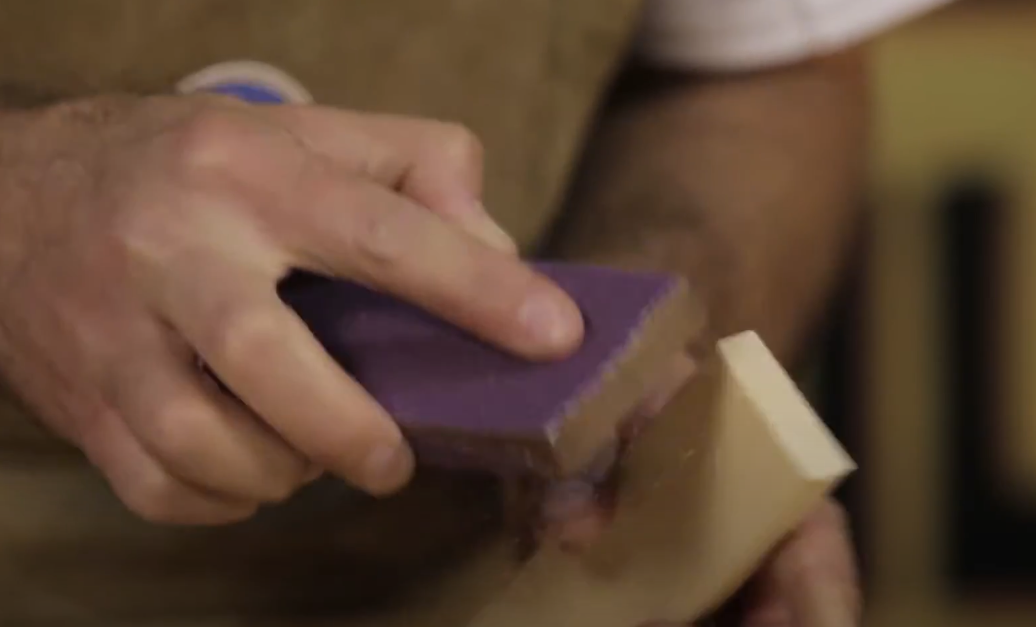
A soft brush or cloth is usually enough for dust removal, but if there is any stubborn debris or old glue, you can also lightly sand the wood until it’s smooth and clean.
Sanding also helps open the wood’s pores so the PVA glue can penetrate the wood fibres more effectively.
Finally, double-check that the wood is completely dry, as moisture can compromise the glue’s ability to bond.
Step 2: Apply Your Wood Glue
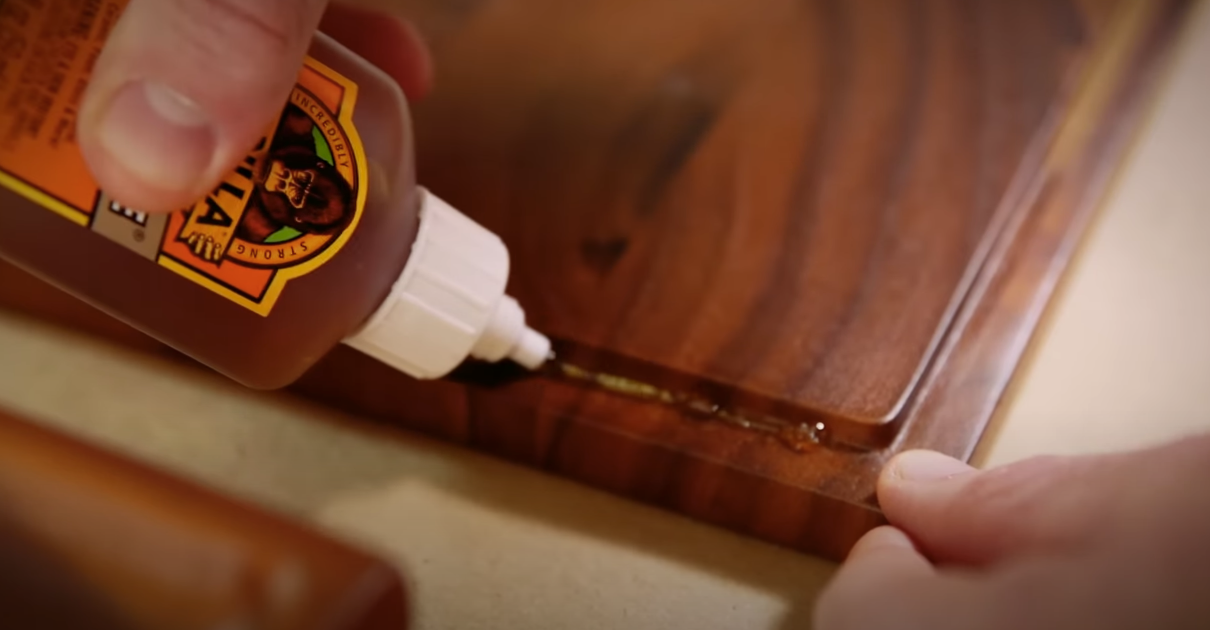
Once your surfaces are clean and dry, apply a generous layer of PVA wood glue to both pieces of wood.
Different wood glues have different “open times” (the period that the glue remains workable before it starts to set). Always follow the product instructions to avoid issues like early curing or weak adhesion.
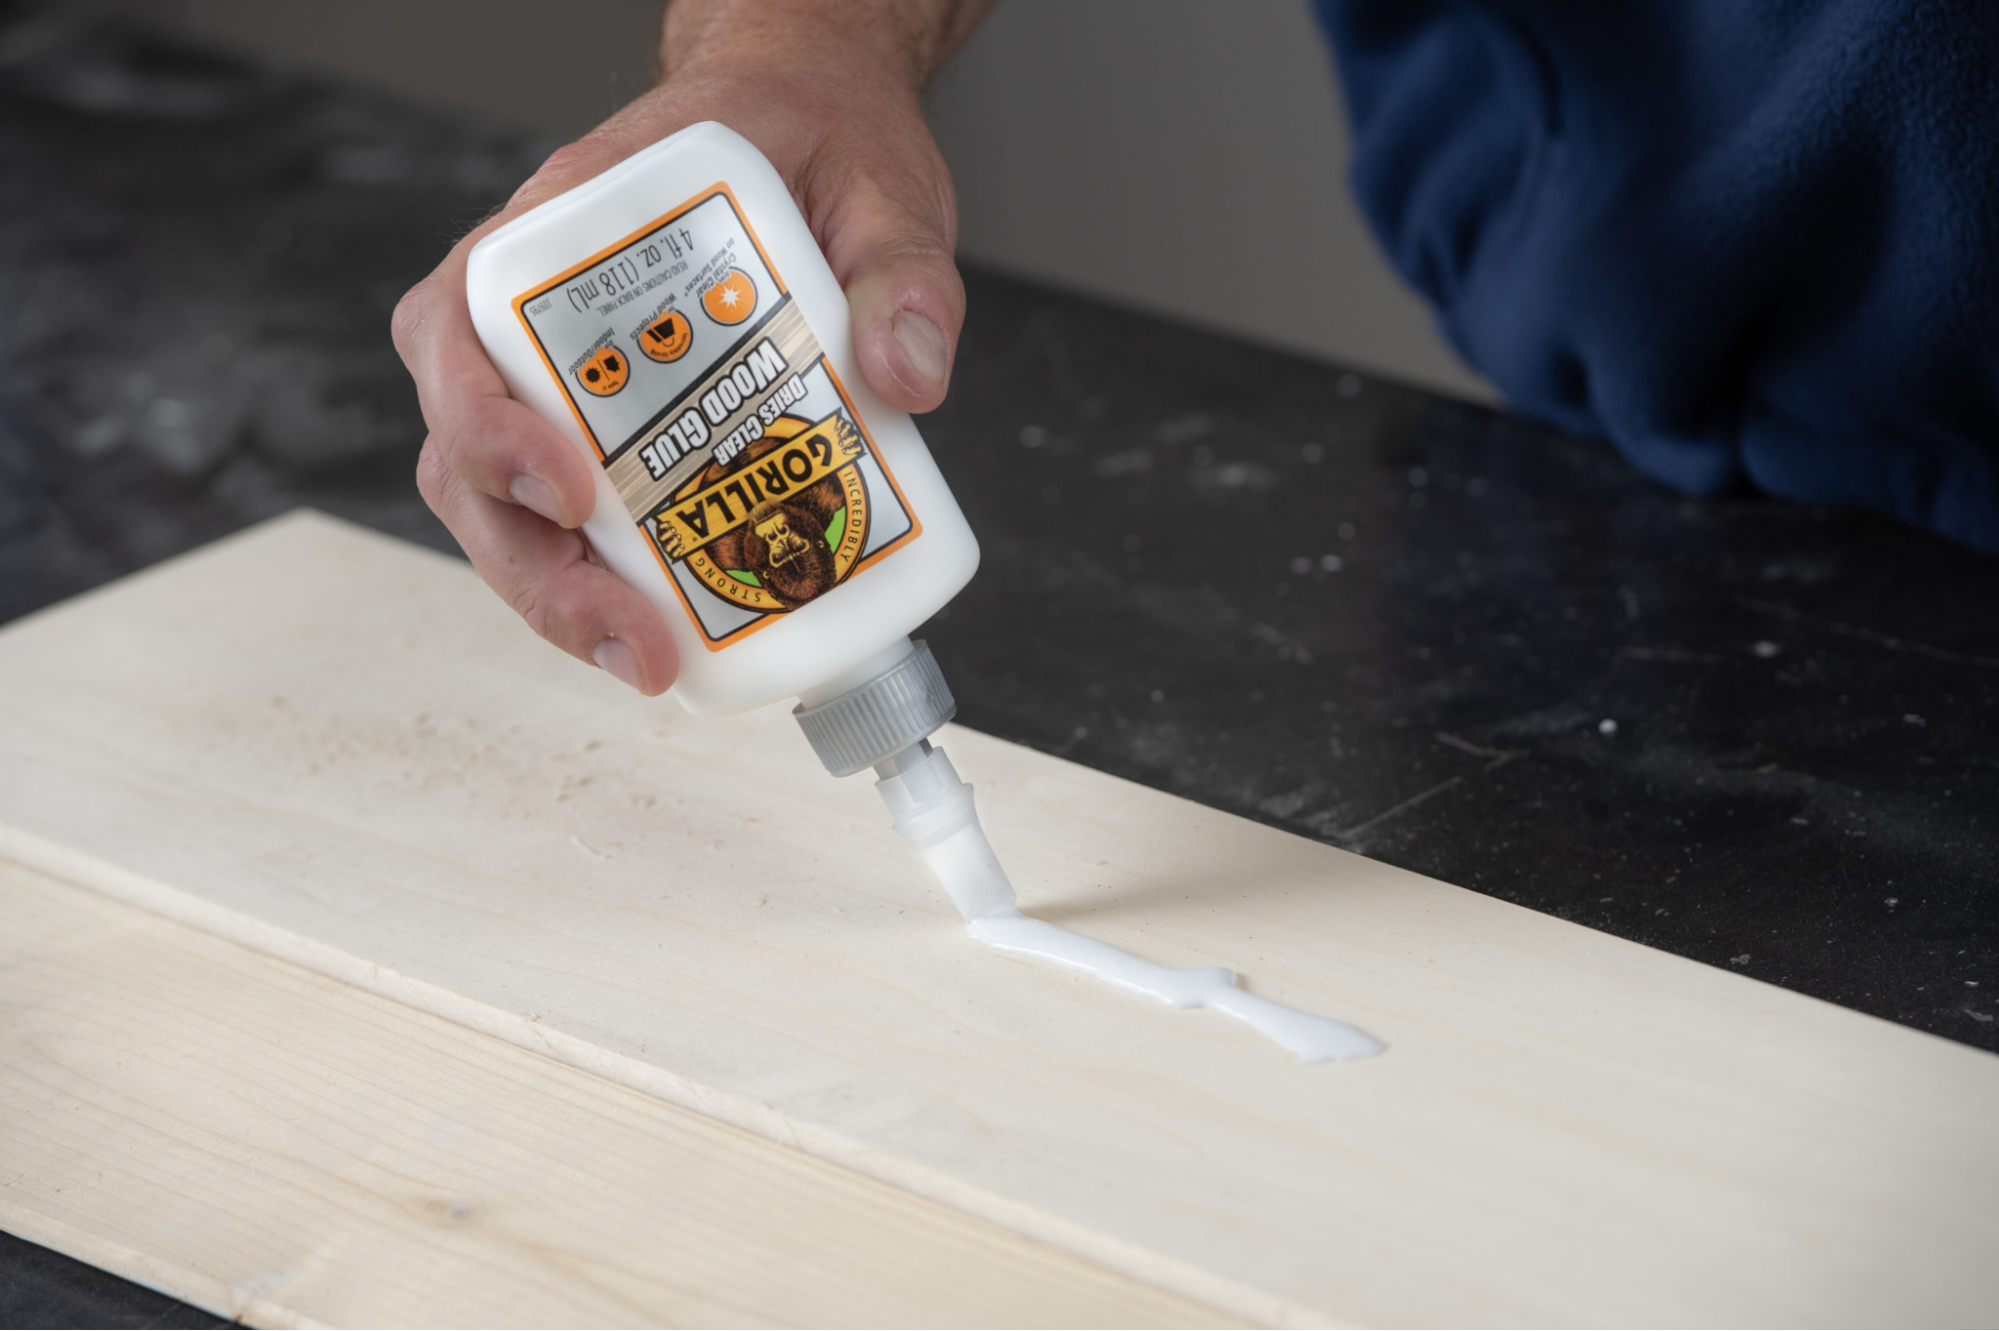
Expert tip: You can use a brush, foam pad, or plastic spreader to achieve uniform coverage, but this isn’t necessary for a strong grip. Gorilla’s unique nozzle is designed to help apply the glue evenly straight from the tube.
Step 3: Join and Clamp
After applying the glue, press the pieces of wood together and apply pressure to make sure you’re getting a snug fit. If you’re using PVA-based glue, it can help to slide the wood pieces slightly against one another to remove any trapped air pockets.
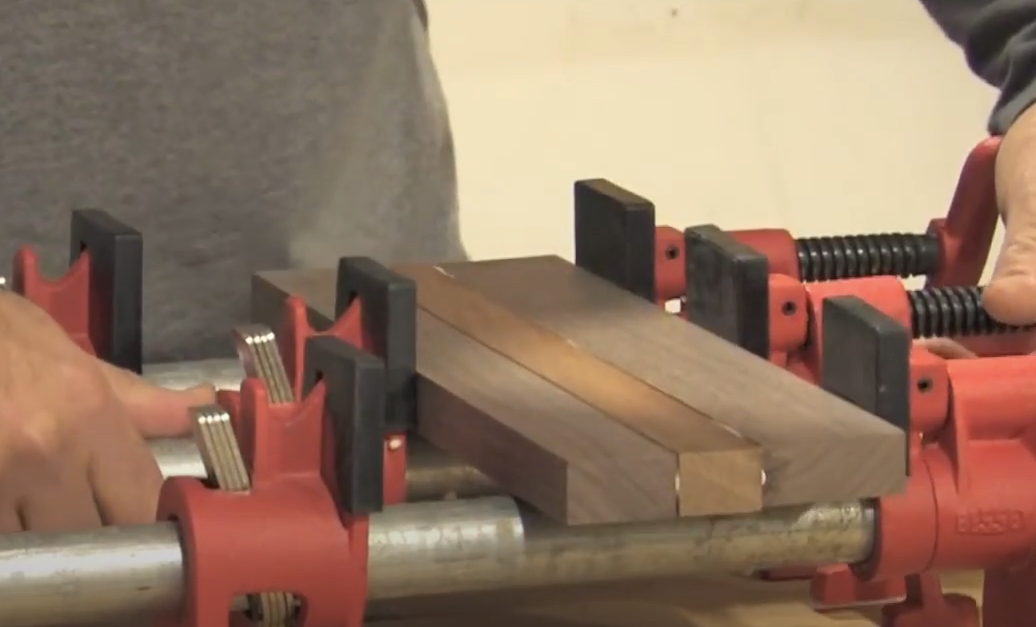
Then, secure the pieces together to ensure they don’t move while the glue sets. For smaller repairs, you can use duct tape or masking tape or place weights on the joint to keep it in place.
Depending on the size of the project, you might need to use bar clamps or G-clamps. For larger or more complex tasks, it's best to use multiple clamps to achieve uniform force across the entire joint.
Step 4: Clean Any Excess Glue
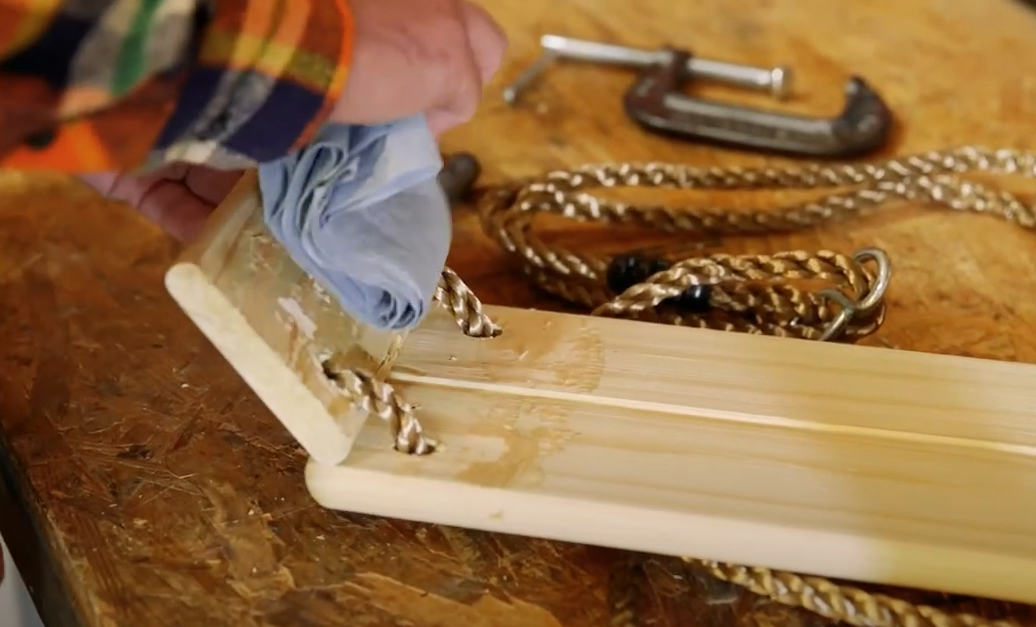
Once the wood is clamped, check for any glue seeping out of the joint and wipe away any excess with a damp rag or cloth before the wood dries.
If the glue is still wet but partially set, wait until it dries a bit more before gently scraping it off. If you plan on adding a coat of varnish or sealant, you can also lightly sand the area.
Step 5: Allow the Glue to Cure
Always give the glue enough time to reach its full bond strength. Gorilla Wood Glue requires about 20 to 30 minutes of clamp time and fully cures in 24 hours.
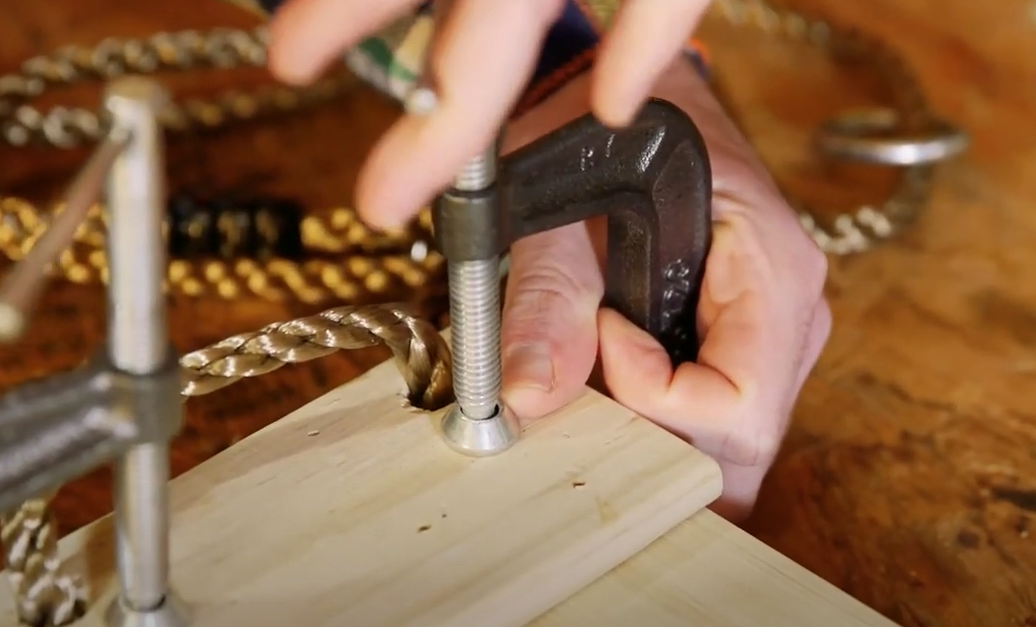
Expert tip: Other wood glues may have shorter or longer cure times, so read the product instructions carefully and don’t rush the process. Rushing the curing process is one of the most common reasons for weak or failed joints.
How to Select the Best Wood Glue For Your Project
- Is the project indoors or outdoors? If it’s outdoors, choose a D4 waterproof or D3 water-resistant adhesive (e.g. polyurethane or certain types of PVA will work).
- Does it require high strength or gap-filling? Epoxies are great for structural, heavy-duty, or gap-filling needs.
- How quickly must it set? Traditional wood glue is ideal if you have time to clamp and wait. If not, consider super glue for a faster fix.
- Is it purely decorative, or does it need structural integrity? PVA, super glue, or even hot glue can be used for quick bonding on less demanding decorative projects.
- Will the project be exposed to food? Use food-safe wood glue for woodworking projects that will be exposed to food.
Not sure where to start? You can use our Interactive Glue Guide to find out which adhesive will get the job done.
Types of Wood Glues
When it comes to choosing the right wood glue, there are several options that will work depending on the type of project, curing times, and bond strength.
Polyvinyl Acetate glue (aka wood glue) is a popular choice for indoor woodworking because it is inexpensive, simple to apply, and quick-drying.
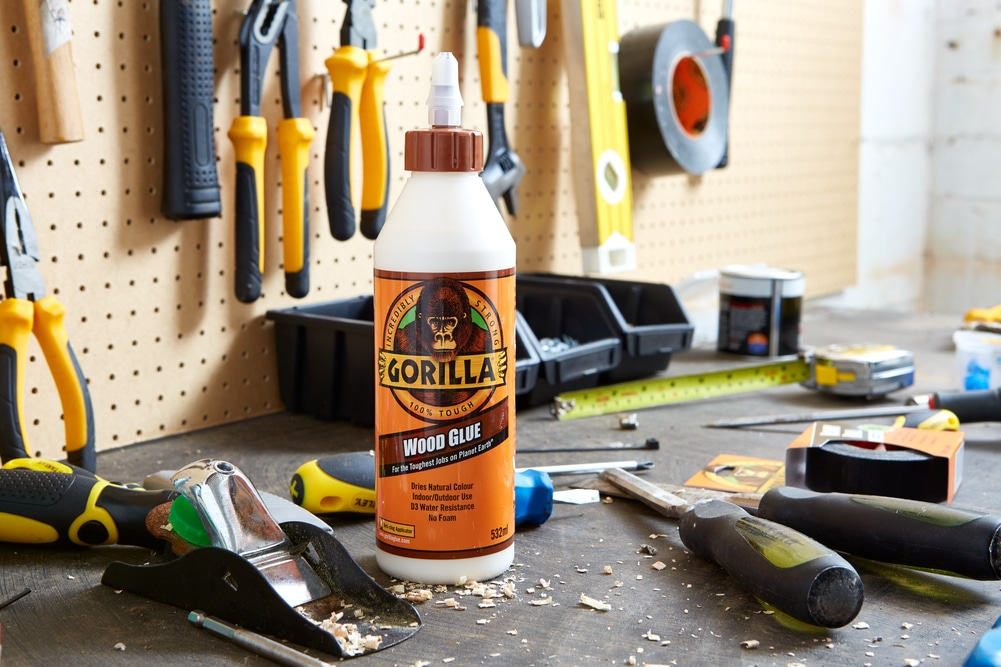
Polyurethane Glue (Gorilla Glue) is a strong, waterproof glue that is ideal for outdoor projects like building decks and fences. It expands as it cures, filling gaps and creating a strong bond that will last in most environments.
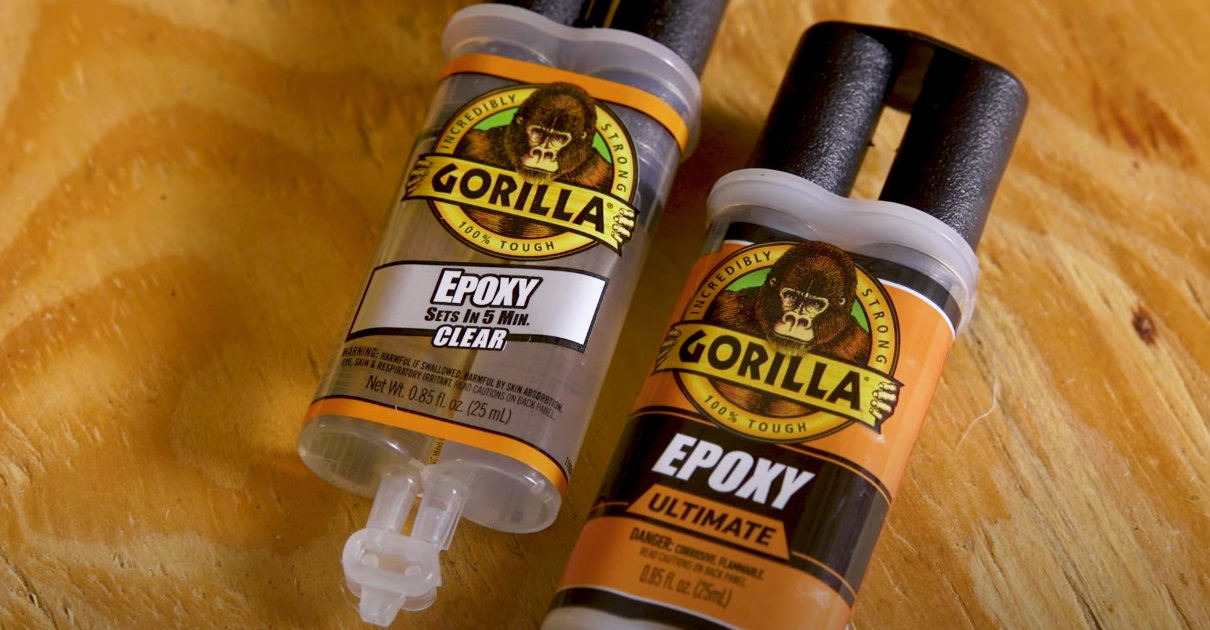
Epoxy Glues are another high-strength alternative, especially when you need a durable joint that can deal with heavy loads and harsh environmental conditions.
Hide Glue or Liquid Hide Glue is a traditional adhesive made from animal collagen that’s reversible and compatible with older finishes. It’s mostly used in antique furniture repair where modern synthetic glues aren’t suitable.
💡Learn more: What’s the Best Wood Glue?
Tips for Glueing Wood to Other Materials
If you need to bond wood to a non-wood surface, such as glass or metal, here are a few extra considerations to keep in mind:
Tips for Glueing Wood to Glass
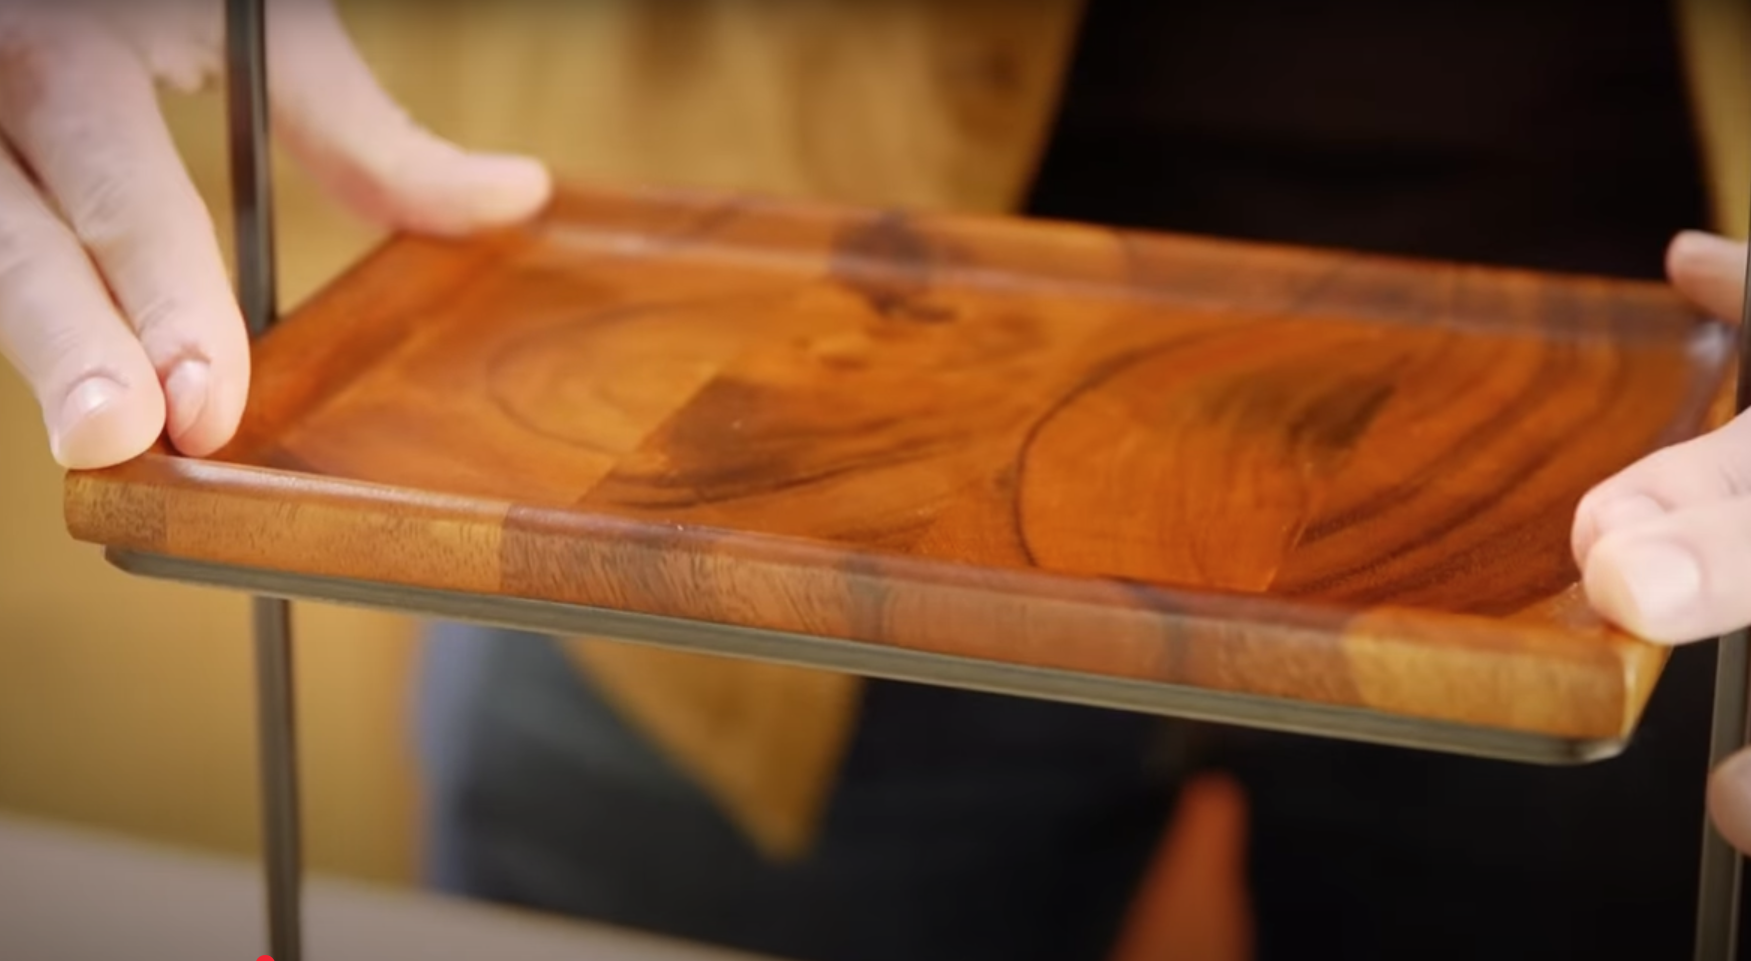
- Use a clear adhesive: Choose epoxy, contact adhesive, or Gorilla Glue Clear that will dry to a clear finish.
- Don’t neglect surface prep: Clean both surfaces thoroughly to remove fingerprints, dirt, oil, and debris.
- Avoid over-application: Excess glue can quickly become a mess on transparent surfaces.
Tips for Glueing Wood to Metal
- Choose an expanding adhesive: Polyurethane glue is a good option because its expanding properties help accommodate the different expansion rates of wood and metal under changes in temperature and humidity.
- Prep the metal: Lightly sand and remove any rust or coatings before you glue your materials.
- Clamp or weigh it down: Keep the materials pressed together while the adhesive cures.
Common Mistakes to Avoid
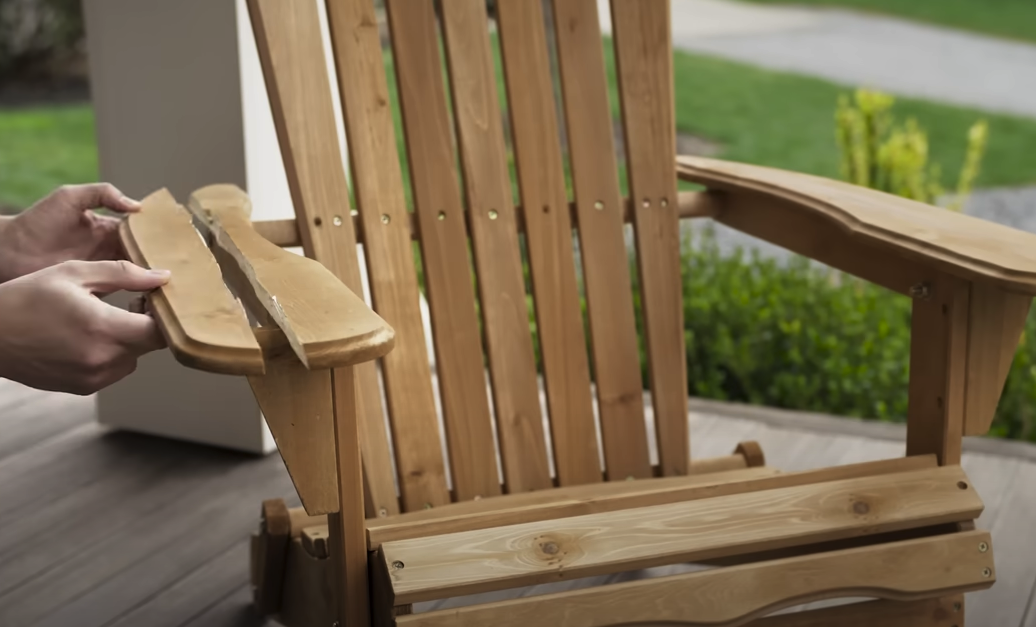
- Using the wrong glue: Always choose the right adhesive for your project to ensure a strong bond.
- Skipping surface prep: Clean your surfaces thoroughly. Dirt, grease, or old finishes can prevent wood glue and some other adhesives from sticking.
- Rushing the curing process: Allow the glue to dry completely before moving or stressing the bond.
- Overusing glue: Follow the instructions; you don't need extra glue to make a strong bond.
Happy Glueing
Whether you choose versatile PVA glue for everyday repairs or use specialised adhesives such as polyurethane glue or epoxy for more demanding projects, each product has its benefits.
Always consider your project’s needs, including weather exposure, required bond strength, and whether clamping is needed to make sure you get a long-lasting bond.
For more tips and advice on adhesives, DIY projects, and glueing, visit the Gorilla Glue Blog.

For the toughest jobs on planet Earth®