


How To Waterproof Damaged Roof Tiles
Heading
A high-quality waterproofing sealant like Gorilla Waterproof Coat and Seal Liquid can help you seal your damaged tile roof and prevent leaks before they cause serious problems.
Most homeowners don’t think about their roof until it starts leaking. But, what might seem like a minor issue, like a few cracked clay roof tiles, can quickly turn into water damage, moisture infiltration, algae growth, mould, and costly repairs.
The good news is that you can take action before things get worse. A high-quality waterproofing sealant like Gorilla Waterproof Coat & Seal Liquid can help you seal your damaged tile roof and prevent leaks before they cause serious problems.
In this step-by-step guide, we’ll show you how to repair damage and seal roof tiles.
How to Waterproof Roof Tiles: Step-by-Step Guide to Prevent Moisture Infiltration
Waterproofing damaged roof tiles is a great way to protect your home from expensive water damage and costly repairs. Here’s a step-by-step guide to help you get started:
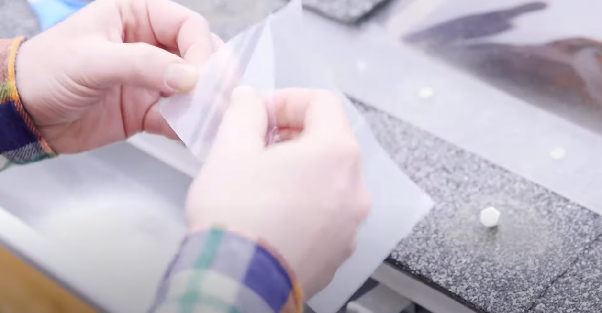
Step 1: Prepare the Area
1) Clean the roof tiles: Most people don’t realise how grubby older roof tiles can get until they see them up close. A clean roof will make it easier to inspect potential damage, so start by removing dirt, debris, moss, and algae.
2) Repair or replace damaged tiles: Check for any cracked or broken tiles and repair or replace them as needed. For minor damage, like broken concrete tiles or cracked clay tiles:
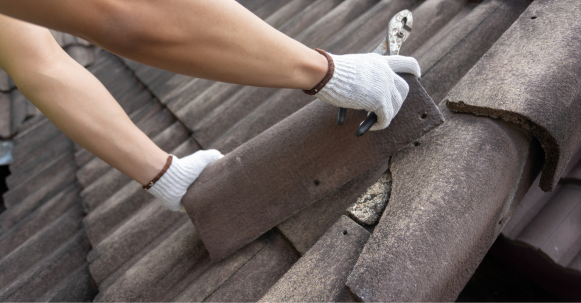
- Try removing the broken tile to make repairs easier. If you can't, repair it in place as best you can.
- Take a wire brush to score the edges that you want to bond.
- Then, apply a waterproof adhesive like Gorilla Grab Adhesive Crystal Clear to both edges.
- Ensure you have used enough adhesive to cover the crack on the outside and inside of the tile.
Step 2: Apply Your Roof Sealer
Before you get started, always wear appropriate PPE as recommended by your product. For complete instructions on how to use Gorilla products, always refer to the instructions provided with your product or contact our Consumer Affairs team if you have specific application-related questions.
1) Stir the container: Stir the contents of the tin thoroughly for 30 seconds to ensure an even consistency.
2) Test before applying: Before applying any rubber roof coating, always test it on a small, inconspicuous area to check that it adheres properly and doesn’t cause discolouration.
3) Apply the roof coating: Using a brush or roller, apply a thin, even coat to your damaged roof tiles. Work in sections to ensure complete coverage.
4) For larger gaps (6mm-99mm), you can place a strip of Gorilla Waterproof Patch & Seal Tape or an appropriate waterproofing membrane over the crack and then apply your Gorilla roof sealer around the edges to reinforce the seal.
5) Apply multiple coats: For optimal protection, apply several coats to the area you are sealing. Allow 10-15 minutes between coats for proper drying.
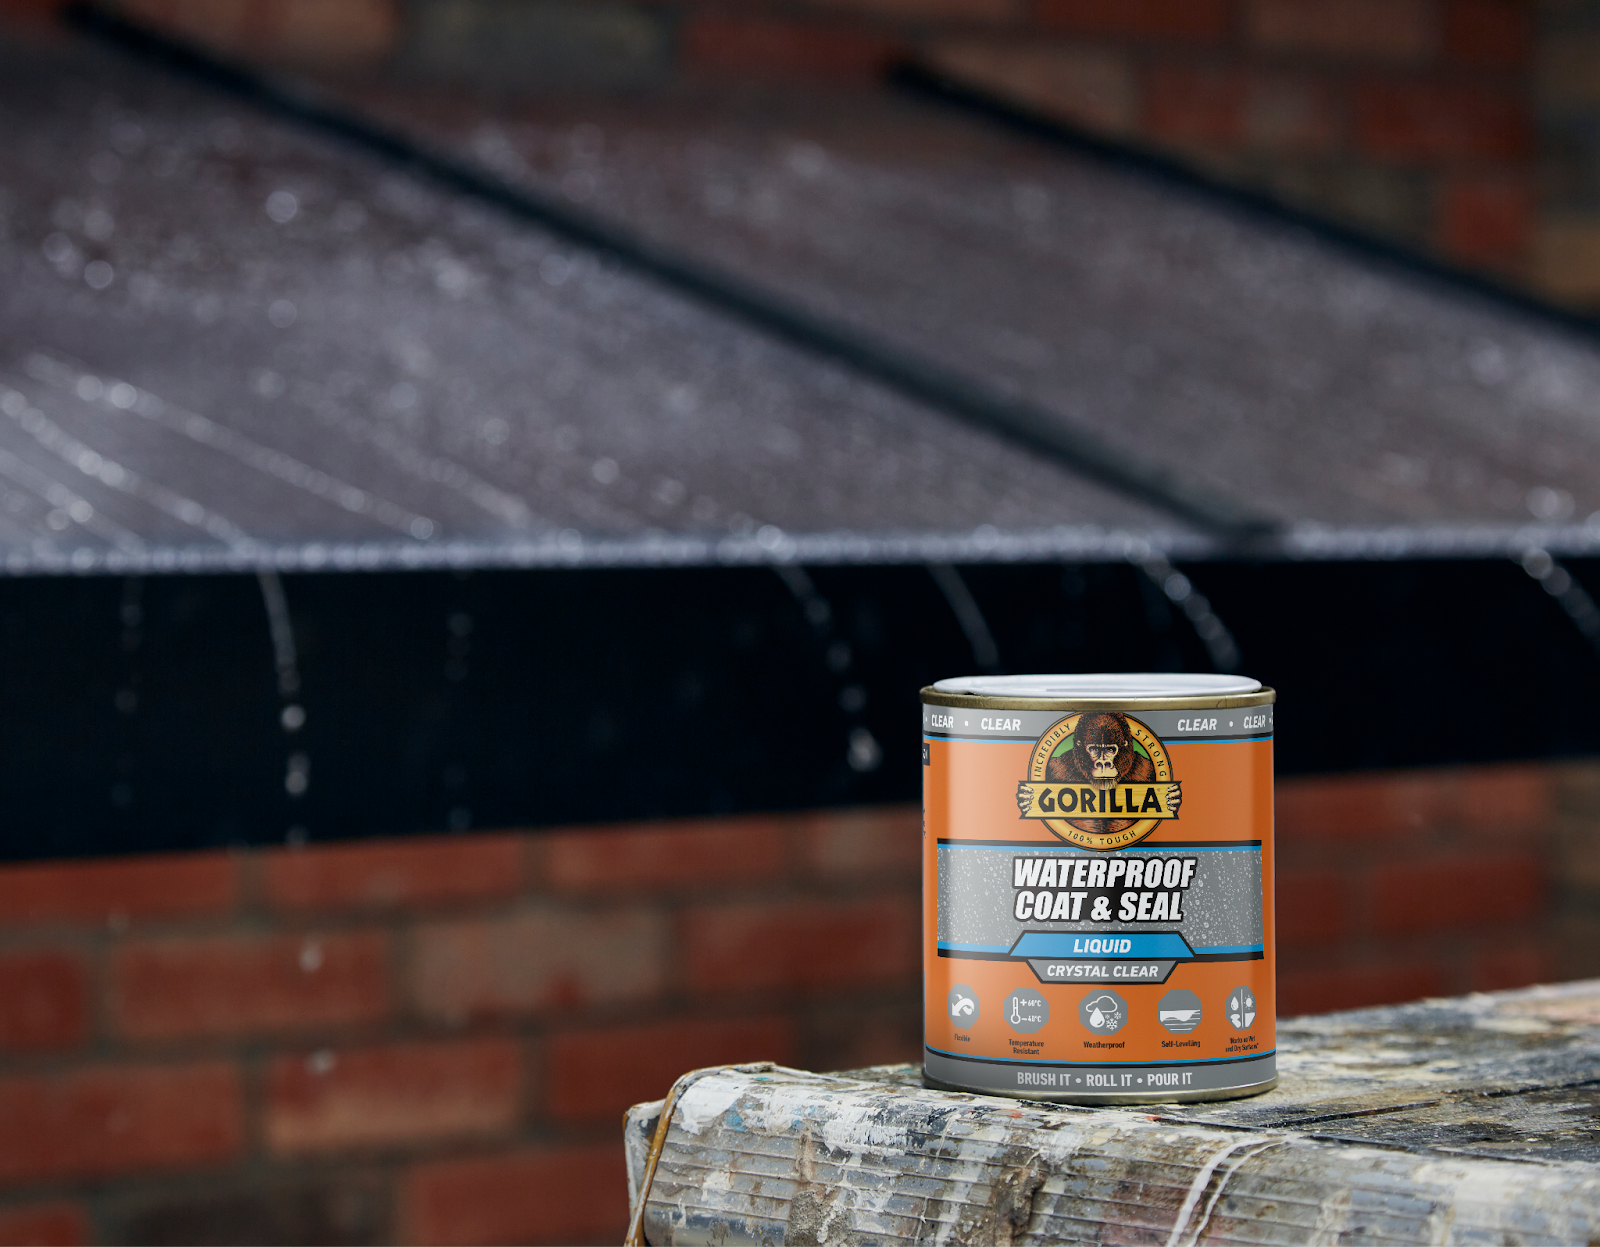
Top Tip:
Water can creep up between tiles and cracks. To prevent this, make sure you also apply sealant to the area around the damaged tile.
Step 3: Allow the Roof Sealer to Dry and Cure
1) Allow the roof sealer to cure properly: Before exposing your roof to rain or other elements, the final coat of roof sealant should be allowed to cure for 24-48 hours.
2) Cover it while drying: If you’re concerned about rain, cover the area to help keep it dry while the sealer cures. Use plastic sheeting or tarp and secure the edges with Gorilla Tape All-Weather Extreme. Make sure the cover is raised slightly and does not touch the coating.

Did you know?
Properly sealing your roof can significantly improve your home's energy efficiency and help lower heating and cooling costs.
Additional Tips To Improve the Sealing Process:
- Weather conditions: Extreme temperatures can affect the curing process and the effectiveness of the waterproofing. Apply your sealant on a dry day with mild temperatures (Gorilla Waterproof Coat & Seal Liquid can be applied between 10°C and 48°C).
- Safety precautions: Always wear appropriate safety gear, such as gloves and eye protection and follow all relevant and necessary safety protocols.
- Maintenance: Regularly inspect older roof tiles and reapply the sealant every few years to keep damaged tiles waterproof. You may need to replace them if they are too damaged or continue to leak after repeated repairs.
- Porous materials: Clay and concrete roof tiles can be difficult to seal properly due to their porosity. You may need to apply several roof coatings to ensure a watertight seal.
Why Choose Gorilla Waterproof Coat & Seal Liquid?
If your roof tiles are damaged, Gorilla Waterproof Coat & Seal Liquid offers a strong, flexible protective coating that can be used to repair minor cracks on sheds, garages, window frames, and caravans.
- Clear finish: Unlike other sealants, Gorilla Waterproof Coat & Seal Liquid Crystal Clear dries to a clear, glossy finish that does not alter the original colour of your roof tiles.
- Watertight seal: Gorilla Waterproof Coat & Seal Liquid fills more minor cracks, preventing water from seeping in and bolstering overall water resistance.
- Durable and tough: Gorilla Waterproof Coat & Seal Liquid is resistant to UV rays, extreme weather, and temperature fluctuations. It also resists shrinking and cracking, so your roof remains well-protected as it naturally expands and contracts.
- Easy to apply: You can apply Gorilla Waterproof Coat & Seal Liquid using a brush or roller, or simply by pouring it on your roof to keep it dry and help extend its lifespan.

For the toughest jobs on planet Earth®