


Types Of Waterproofing Solutions To Fix Water Leakages
Heading
In this guide, we help you find any pesky leaks and choose the best waterproofing solutions for your home.

Water leaks can cause significant damage to property and lead to costly repairs. That’s why it’s important to catch them quickly. Moreover, implementing proper waterproofing solutions is key.
In this guide, we help you find any pesky leaks and choose the best waterproofing solutions for your home.
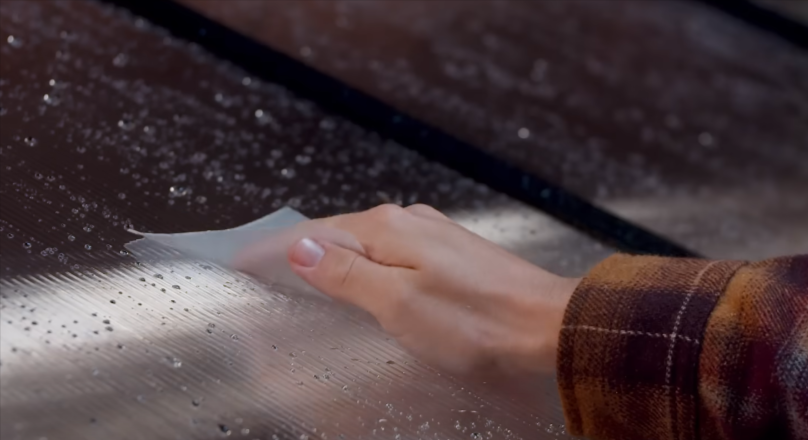
Tools & Materials
- Gorilla Waterproof Patch & Seal Tape.
- Gorilla All Weather Tape.
- Silicone sealant.
- Rubberised spray sealant.
- Epoxy resin.
- Utility knife or scissors.
- Cleaning cloths.
- Bucket of warm, soapy water.
- Gloves and safety goggles.
Step-by-Step Instructions
Step 1: Identify the Type of Leak
Leaks in homes and commercial properties typically leave visible and audible signs.
So you’ll want to inspect areas prone to moisture intrusion, such as sinks, toilets, and appliances. Also, check windows and doorways.
Mildew and mould growth typically occur in these damp areas, which can pose health risks.
You may also notice a musty odour, peeling paint, and water stains on walls and ceilings. Additionally, listen for dripping or hissing sounds behind walls.
One of the simplest ways to determine if there’s a leak is to check your water meter while the water is shut off. If you notice an inflated reading, you likely have a leak. Low water pressure can also indicate a hidden leak.
To identify water ingress outdoors, check the walls and foundations for water penetration. This can include cracks, damp spots, and water stains.
You may also notice efflorescence (white, chalky residue) on exterior surfaces.

Step 2: Clean and Dry the Area
Follow these steps before implementing your waterproofing solution.
- Remove any dirt, dust, grease, or loose material around the leak with warm, soapy water and a cloth.
- Use a scraper to remove tougher dirt, then allow the area to dry completely.
- For external waterproofing, ensure you have dry weather before applying sealants.
Step 3: Choose the Right Waterproofing Solution
Here’s a breakdown of different types of waterproofing materials by application to help you pick the most effective solution.
For Sealing Cracks or Joints
Crack fillers and sealants are ideal for filling small cracks and minor movement joints.
Use Gorilla Waterproof Patch & Seal Tape to patch gutters, drainage pipes, and roofing. This UV-resistant product works on concrete structures, metal, plastic, and wood.
For Fast Outdoor Fixes
Use Gorilla All Weather Tape for moisture-resistant bonding on gutters, tarps, sheds, and more. It forms a permanent bond and can withstand extreme weather conditions.
If you need to repair hairline or moderate cracks in flat concrete surfaces, you can use epoxy resin. Epoxy resin bonds to concrete, restoring the structural integrity in dry, non-moving cracks.
For Waterproofing Smooth Surfaces
Use a silicone sealant to apply a waterproof barrier around sinks, bathtubs, and other areas prone to moisture.
Be sure to apply the sealant in thin, even beads, then smooth it out with your finger or a caulking tool for a clean finish.

For Small Plastic/Metal Containers or DIY Projects
A rubberised waterproofing spray is ideal for quick coating over seams or small pinholes. It provides a flexible, water-resistant coating, making it great for light-duty or temporary sealing.
For Foundation Waterproofing
Common waterproofing solutions include addressing water ingress. This includes sealing cracks, unclogging drainage channels, and installing or upgrading waterproofing systems.
For minor cracks, you can add a protective barrier using hydraulic cement and polyurethane masonry caulk. These products are available at most hardware stores.
More extensive repairs, like fixing large foundation cracks, may need exterior waterproofing.
This involves excavating around foundations or below-ground structures to apply a waterproofing membrane. This membrane acts as a seamless barrier, preventing further water seepage.
However, taking this route can be costly and labour-intensive. We advise consulting a waterproofing specialist about various barrier protection options.
Other waterproofing systems that offer comprehensive protection include:
- bituminous membrane waterproofing
- cementitious waterproofing
- polyurethane waterproofing
- liquid waterproofing membranes
For Basement Waterproofing
Basement waterproofing involves preventing water ingress. This can include the installation of a cavity drainage system or internal tanking systems.
One of the challenges of waterproofing this area is hydrostatic pressure, which is caused by water in the soil pushing against the walls of the foundation.
While you can waterproof basement walls yourself, it’s best to leave major structural repairs to professionals.
Basement waterproofing may include adding a protective layer by installing or upgrading your current waterproofing system:
- Type A waterproofing system — Applying a waterproofing layer to basement walls. This includes cementitious coatings or bituminous coatings.
- Type B waterproofing system — Provides integral waterproofing during construction. This is also known as “structurally integral protection type”.
- Type C waterproofing system — Applying cavity drain membranes to divert water to a sump pump or away from the structure.
Step 4: Apply the Product
Before applying waterproofing materials, follow the product instructions on the manufacturer’s label. Proper surface preparation is key, so first ensure that the area is clean and completely dry.
General Application Advice
Tapes: Apply in one smooth motion without stretching. Press firmly and rub into the surface to form a complete seal.
Liquids: Use a brush, roller, or trowel, or pour directly onto the surface. Allow each coat to cure fully before applying the next.
Sprays: Hold the can roughly 25 cm away and spray evenly over the area. Leave to cure for the recommended time before handling.
For pressurised pipes: Choose Gorilla Waterproof Wrap & Seal, a flexible waterproofing tape that fuses to itself and instantly seals out water.

Common Mistakes to Avoid
Avoid these common errors to ensure long-lasting results during the waterproofing process.
- Selecting the incorrect waterproofing methods or materials.
- Applying tape or sealant to damp or dirty surfaces.
- Using indoor products for outdoor applications.
- Overlooking seam overlap or failing to seal edges properly.
- Not waiting for the full curing time.
- Ignoring underlying waterproofing issues.
There You Have It
Water leaks can cause serious aesthetic and structural damage. But with the right waterproofing methods, you can catch them early and protect your property. For more DIY ideas and guides, check out the Gorilla Glue Blog.
Information provided within this content is for informational and consideration purposes only.

For the toughest jobs on planet Earth®